Direct link to image upload: LAUP – Upload
Content
- Upload for a new ARNI
- Upload for an existing ARNI
- Sections of the upload form
- Error handling
Images can generally only be uploaded for ARNIs.
Upload for a new ARNI
Images can be uploaded via the home home page for ARNIs that have not yet been created in LAUP. To do so, click on the house-icon in the upper-left corner to go to the home page. In the “Upload run” section, select the directory containing the folder where the images for the new ARNI are stored. When a serial number is detected that is not yet assigned to an existing ARNI, LAUP automatically creates a new ARNI and stores all data associated with that serial number (e.g. coordinates).
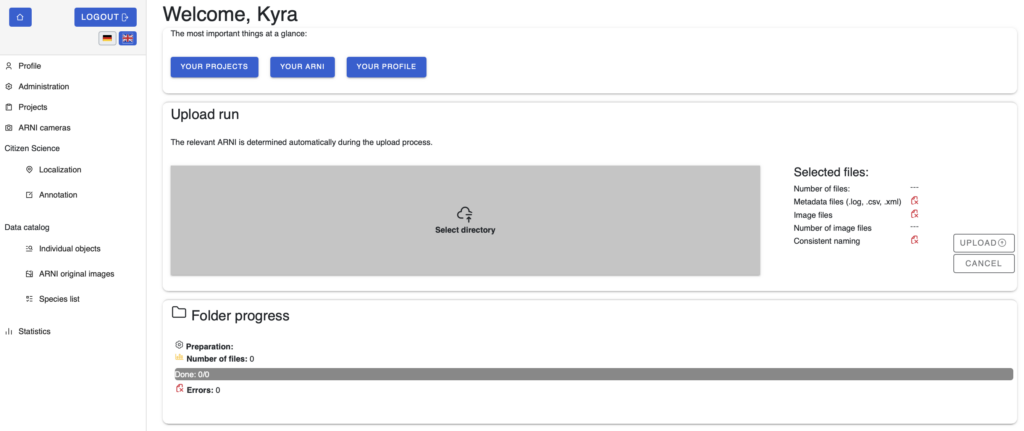
Upload for an existing ARNI
The standard way to access the upload screen for an existing ARNI is via the “ARNI-Cameras” tab in the menu. There you must select the corresponding ARNI. For users, access is limited to the ARNIs they have created or are assigned to. Alternatively you an upload the images directly via the home page. LAUP will by means of the serial number assign it to the correct ARNI.
For administrators only: Administrators will also find a “Projects” tab in the menu. This tab allows them to access all LAUP projects and the upload screen can also be access through it. Administrators can additionally upload images for all ARNIs created in LAUP (see LAUP – Admins and their functions for more information).
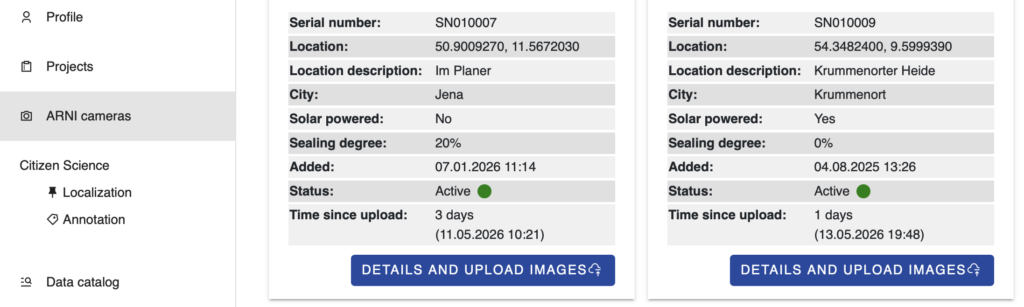
Top: How to upload via the “ARNI Cameras” tab and ARNI information; Bottom: Example of a project selection
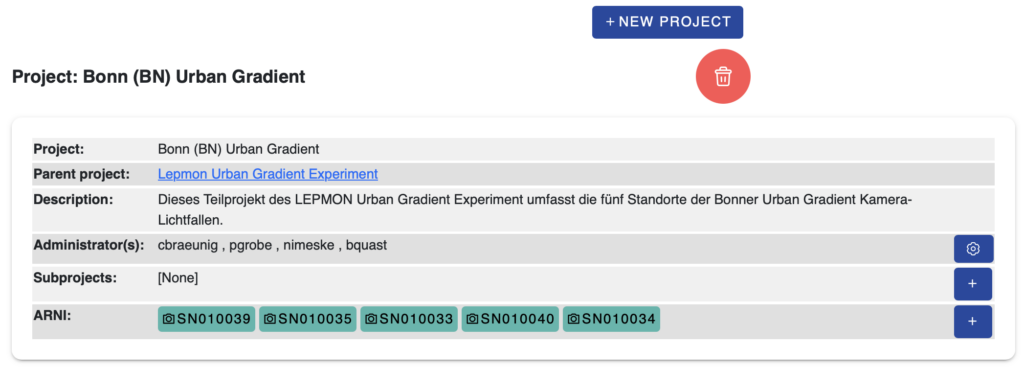
The ARNIs are visible and for the relevant project administrators and for the assigned uploaders.
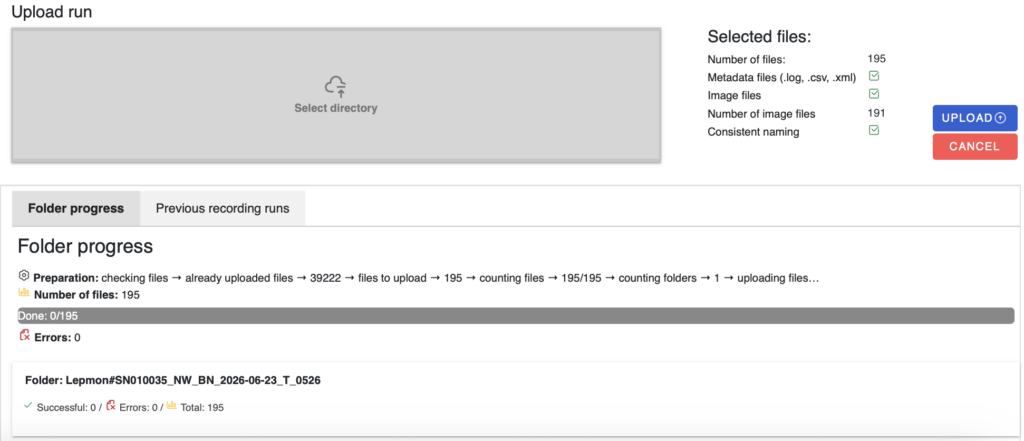
The upload interface is divided into four sections:
- Top: Information about the selected trap
- Centre left: Select the directory of USB stick containing the images here
- Centre right: Buttons to start (“Upload”) or reset (“Cancel”) the upload and an overview of the selected files
- Bottom: Folder progress and previous recording runs
The lower section displays the “Folder progress” tab showing the current upload status with detailed information on each directory. The tab next to it (“Previous recording runs”) lists all previous uploads for the device. You can switch between the two tabs at any time without interrupting the upload.
Important for uploading
Files can only be uploaded by directory, not individual images. The entire USB stick can also be selected as a directory.
Each directory must contain the following files:
- Image files with associated MD5 checksums (
.md5) - a log file (
.log) - a measurement file (
.csv) - optionally a file containing the camera setting (
.xml)
After selecting the directory, the system automatically checks the files. The “Selected files” overview on the right-hand side of the upload screen shows whether all required files are present. In addition, files that have already been uploaded are compared, so that only missing files are transferred. The progress of this check and the upload is shown in the “Preparation” line.
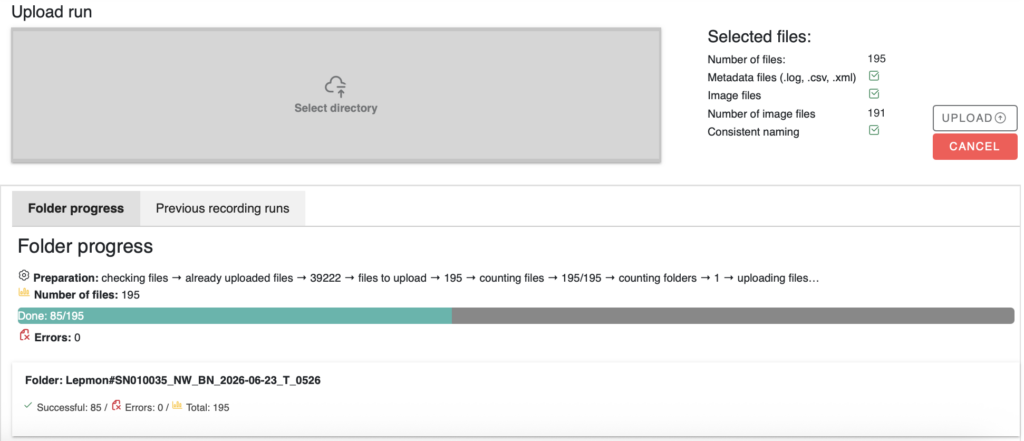
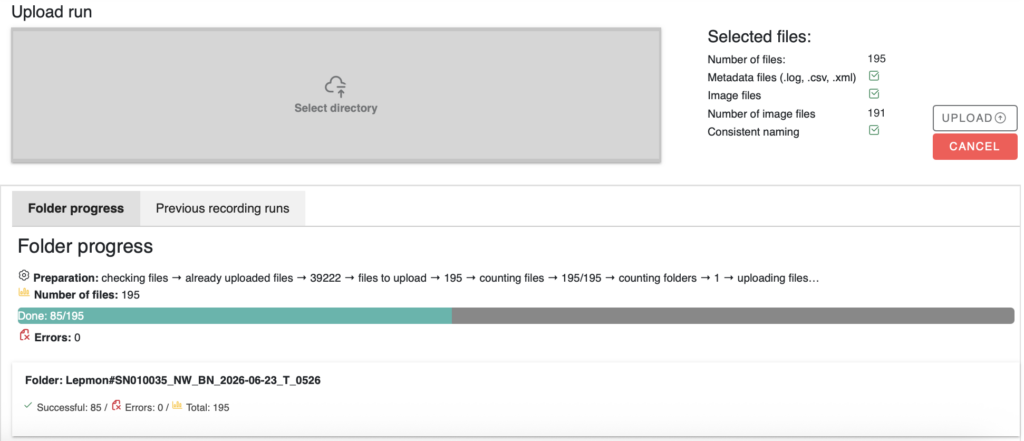
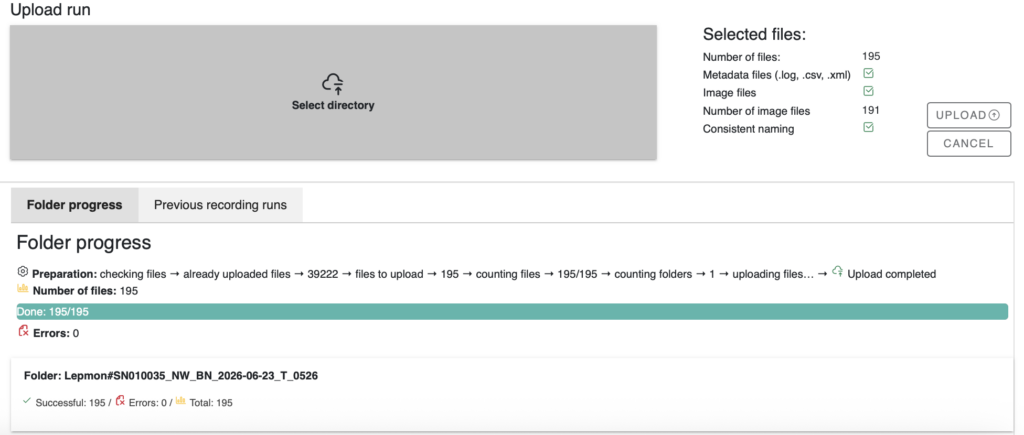
If all the files are in order, you can start the upload by clicking “Upload” (left image below). The process can be stopped at any time by clicking “Cancel”. A completed upload is indicated by a green tick in the “Preparation” line and a fully filled green bar. Any errors that occur are summarised (see below for error handling).
Note: “Cancel” stops the upload process but does not delete any files that have already been uploaded.
Error handling
Two types of errors may occur during the upload:
- During the upload, e.g., due to interrupted network connections
- When saving to the server, e.g., due to truncated files
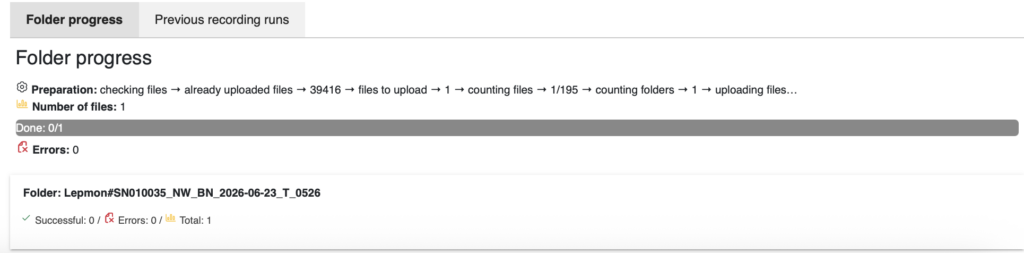
1. Upload error: The files being uploaded are relatively large (40-50MB). Around 400-500 files need to be transferred per directory. This is a challenge for the browser, the network connection, and the server. We strive to make the upload process as error-free as possible. Nevertheless, there will inevitably be instances where individual files cannot be transferred (in the image in the below, two files: one file from the directory Lepmon#SN010035_NW_BN_2025-07-11_T_2205 and one from the directory Lepmon#SN010035_NW_BN_2025-07-12_T_2200). To re-upload the missing files, select the relevant directory again and upload: The system automatically recognises which files have already been successfully uploaded and re-uploads the missing files (image below).
2. Memory error on the server: Every image captured by the camera trap is saved on the USB stick along with a checksum (MD5). After uploading, this checksum is compared with a new checksum generated from the respective image. If they do not match, an error must have occurred, and the file is discarded. This can be seen in the second tab, “Previous recording runs,” after the upload.
Once all directories have been uploaded, refresh the page once and compare the number of expected files with number of image files saved. If these do not match, the upload for the relevant folder must be repeated. To do this, as described in point 1, select the relevant directory again and upload it: the system automatically recognises which files have already been successfully uploaded and re-uploads the missing files.

